
I'm very, very grateful for all the helpful comments on my Something Blue cardigan. I asked and lots of people delivered. Don't you love the internet?
There's an awful lot of information to consider and weigh up, particularly regarding the raglan shaping. That was something I hadn't picked up, that maybe the fit wasn't right there.
Interestingly, the designer herself, Wendy Bernard, had the following to say when I wrote to her via Ravelry and asked for her thoughts (thanks for the suggestion Cindy2Paw!)
Wendy writes:
Yeah, except for the front, it fits right. (note: Wendy didn't mention the raglan shaping. Interesting!)
I think that the back fits nicely.
I’m not sure if short rows will be the total solution. You could rip back and start your bottom ribbing at least 2 - 3 inches later.
As far as the “wave” at the bottom edging what you need to do is pick up sts at a greater rate at each of the bottom edges so that when you do your ribbing you’ll have more sts grouped there and it won’t want to pull in so much.
I used the Blue Sky Alpaca cotton, and that cotton isn’t is springy. I didn’t read about your yarn choice, but your substitution may be sproingy-er and could contribute to the bottom edge pulling in more than the cotton does.
Wendy, it seems, suggests a much easier solution than either going back to the raglan shaping or adding bust darts or other kinds of shaping. On the one hand, I'm quite grateful. Who doesn't like an easier option? Although, here, 'easier' is relative. I still have to undo all the sewn in ends, rip out the band, redo the short row shaping on the neck blah blah blah.
Oh and she's right about the springiness of the cotton too. My cotton choice was Lana Grossa Nico which has 3% polyester and does make for a very springy fabric. Must keep that in mind.
But you know, there's a lot to be said in favour of trying out some bust shaping. I know the clothing I have in my wardrobe which has bust shaping is just so much nicer to wear, and now might be as good a time as any to figure it out. PrincessPea wrote a fabulous tutorial on the subject which I remember noting at the time it appeared, figuring the time would come when I'd need it.
On the issue of the toggle-style button, I'm in two minds. I admit I chose it in a rush from Lincraft one lunch time last week, a place not known for its extensive range in buttons. I rather like brown and blue together but am not 100% wedded to the button. That said, an impulse purchase doesn't necessarily = bad. I still kinda like it but have another blue button I found which might work too. I also very much liked the idea of a brooch or shawl pin.
So many choices!
In short, I'm not going to rush this. I'll stew on the idea for a while and update on progress later on.
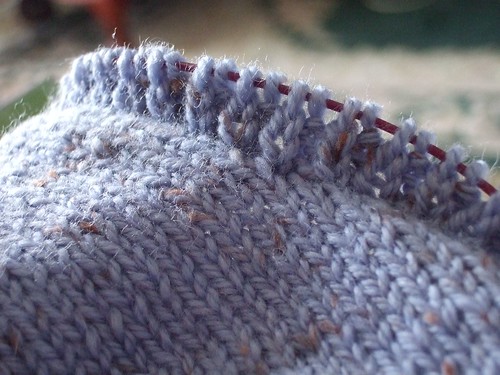
In the meantime, I got to practice some of that edging issue on a smaller blue item over the weekend. Will's vest, to be gifted at his birthday next Saturday, proved tricky. My skill at picking up stitches for bands is clearly lacking. When I'd done the bands, it was clear the arm holes and neck were all too small. It'd never fit. So I ripped, read a tutorial or two and did it again. All fixed! It'll be a much better fit now.
I'll discuss what I did when I do the vest write up.
Thanks again for the comments everyone. I plan to re-read them all again and again in the process of figuring out the solution.
Bells


|